What follows are periodic reports as the XRX kit was being made. Many of my plans, prices and features changed as the kit came together. Ignore all pricing in the following unless in matches with the information on the Hooligan XRX page.
The DXR tail is pretty much roughed out as is the new battery side cover. I have finish work to do and the license plate/taillight mount to make. This will be part of the tail not a separate piece. I can do that by making a 2-part mould. I will report more when I have it.
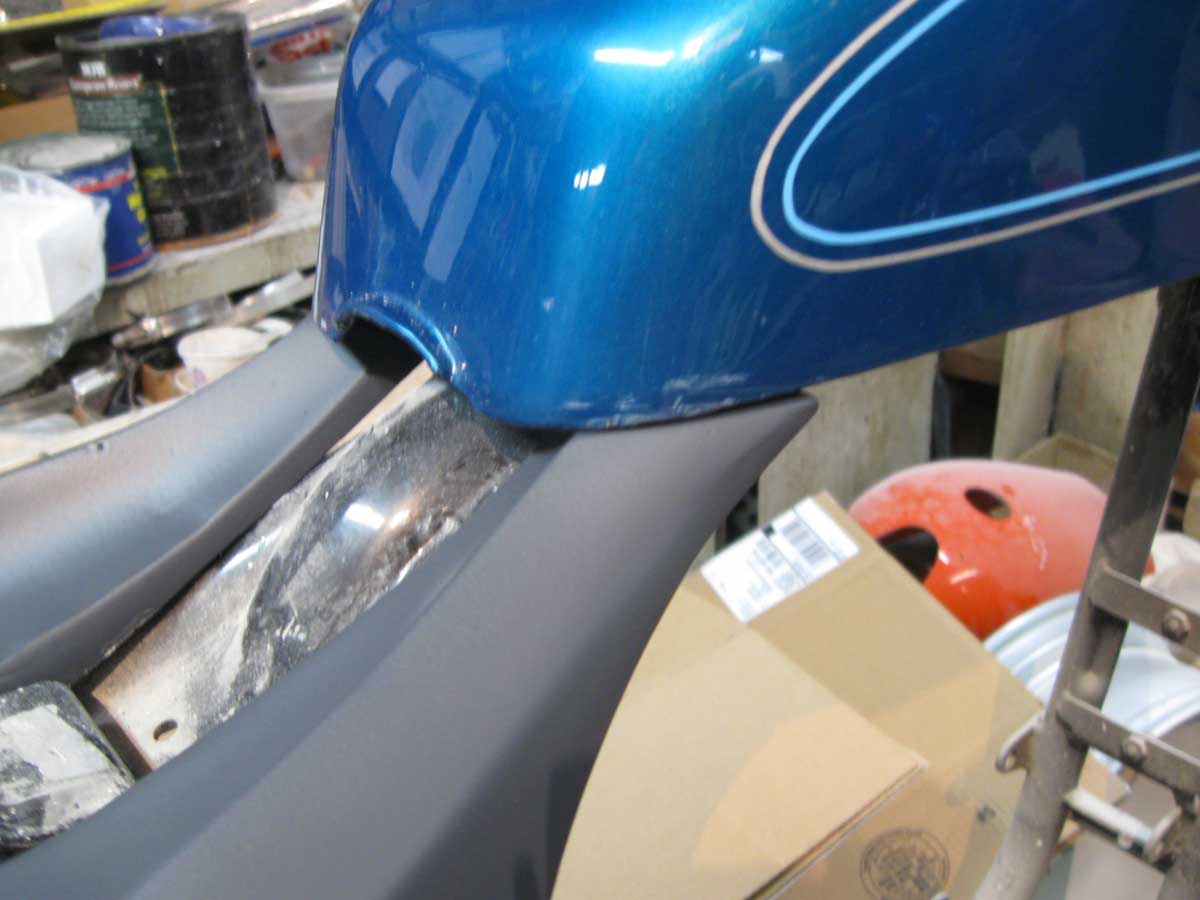
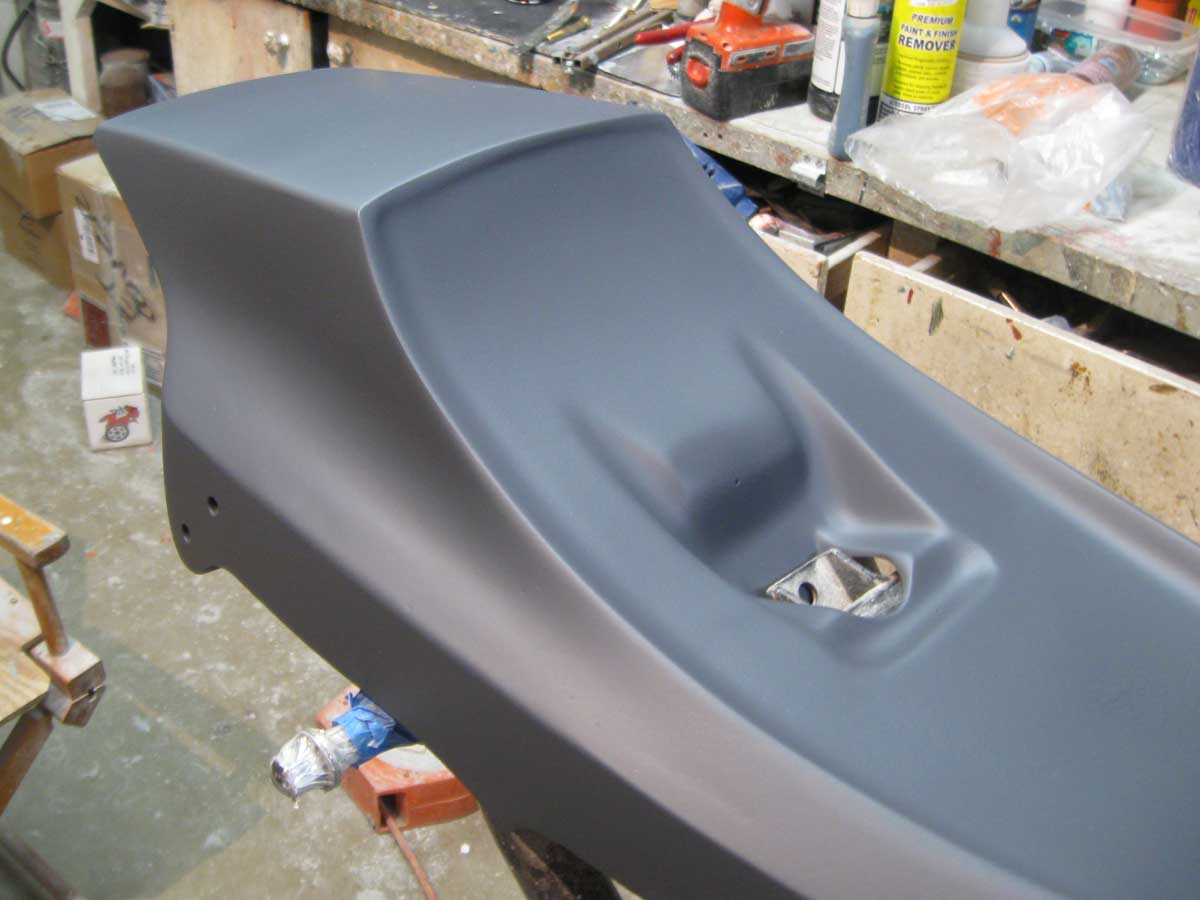
The project is moving along. You'll notice two holes in the tail sides at the rear. The lower hole is a secondary mount for 1994 and newer frames. The upper hole is for 1993 and older frames. The '94 tab will be simply cut off for 1993 and older applications. The primary tail mount is that depression in the middle under that seat-it picks up the tab on the cross tube and the front is secured by tab behind the tank.
If you are wondering about the ridge around the seat cushion-a long time ago I learned that this hides the tail/cushion mating gap and helps blend the tail into the cushion.
The shock position on 1993 and older frames differs in location from 1994 and later frames therefore I will not be able to grind half holes for shock clearance. That something you can easily do with a 1" drum sander in your hand drill.
Work will now halt because I am waiting to make a mount for a nifty new LED taillight/brake light with... get this--turn signals. This will really clean up the back end of your bike. The use of a side license plate mount will be the finishing touch.
The side cover is basically done save for pre-mold finishing.
Challenge
 To my horror I discovered Harley makes at least two versions of their large peanut tank. It concerns the front mount tabs. A later version has a 1 7/8" bent tab and an earlier version has a shorter 1 ¼" short straight tab. I designed the tail around how a long tab tank sits on the frame. Those of you with short tab tanks will have to grind away the hidden portions of my two forward tail extensions that fit up under the tank.
Time crunching
Instead of making the seat base from a finished fender, I am going to make it from the tail as it is now. This will save about 30 days and we'll be that closer to production.
Question one for you
I have used the big peanut tank (3 gal.?) to make this tail. Is the small peanut tank the same in length and in shape at the rear as the bigger tanks?
Question two for you
I was going to offer tank and tail graphics to go with this new tail but I got to thinking that maybe Harley already offers graphics (as for their "R" models). Should I let you buy those or is there a need to design new ones. You tell me what you want in this department.
Thanks.
~ Phil
I have no photos to show today even though work is progressing slowly (I've had other project interruptions). I expect to get back to it full time Thursday. Not much is left to fabricate before I begin the pre-mold polishing process-this you'll see in photos because you'll get a great idea how the parts will look.
Thanks to DXR report list person Paul Slinkard, the product name will change to XRX. You guys are well served by Paul because he's been all over me to git goin'. Paul's had great concerns about using expensive flashers for the LED signal's I'll be using. My brother, who's building a turnkey SXR project for a customer has discovered a cheap flasher which operates all four flashers and its cheap-so cheap I'll include it in the kit. The cost should be about 20 bucks.
One tail shape will be made to fit all Evos up to 2003. The 1986 to 1993 will not have dropped rear mounting tabs. The 1993 to 2003 will have dropped mounting tabs.
I still can't get any closer to costs but here is a list of the kit components:
- Tail fender
- Seat base
- Shaped foam
- Upholstery with gun fighter seat top
- Mount kit (mid and rear mounts)
- Tail/brake/signal light (single unit). Incandescent tail/brake light option
- LED flasher
Options
- Battery cover
- Custom XRX graphics kit for tank and tail
Thanks.
~ Phil
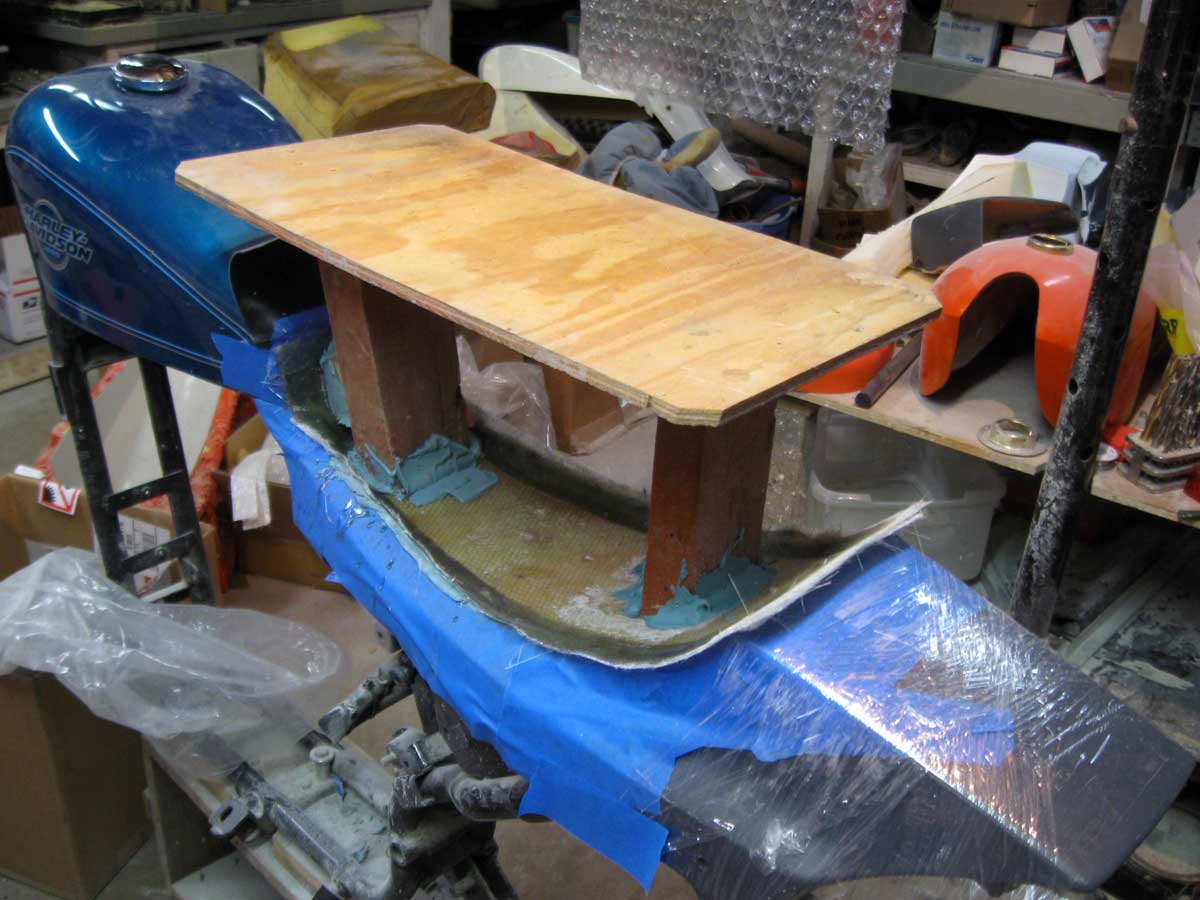 This week's task was to make the seat base. Here is the raw fiberglass laid into the fender well designed for the seat. Before I pulled it off the fender I put legs on it. The legs elevate the seat base for applying the sandable finish on it later. You'll see it in an advanced stage next time.
The blue tape protected the fender from curing fiberglass:
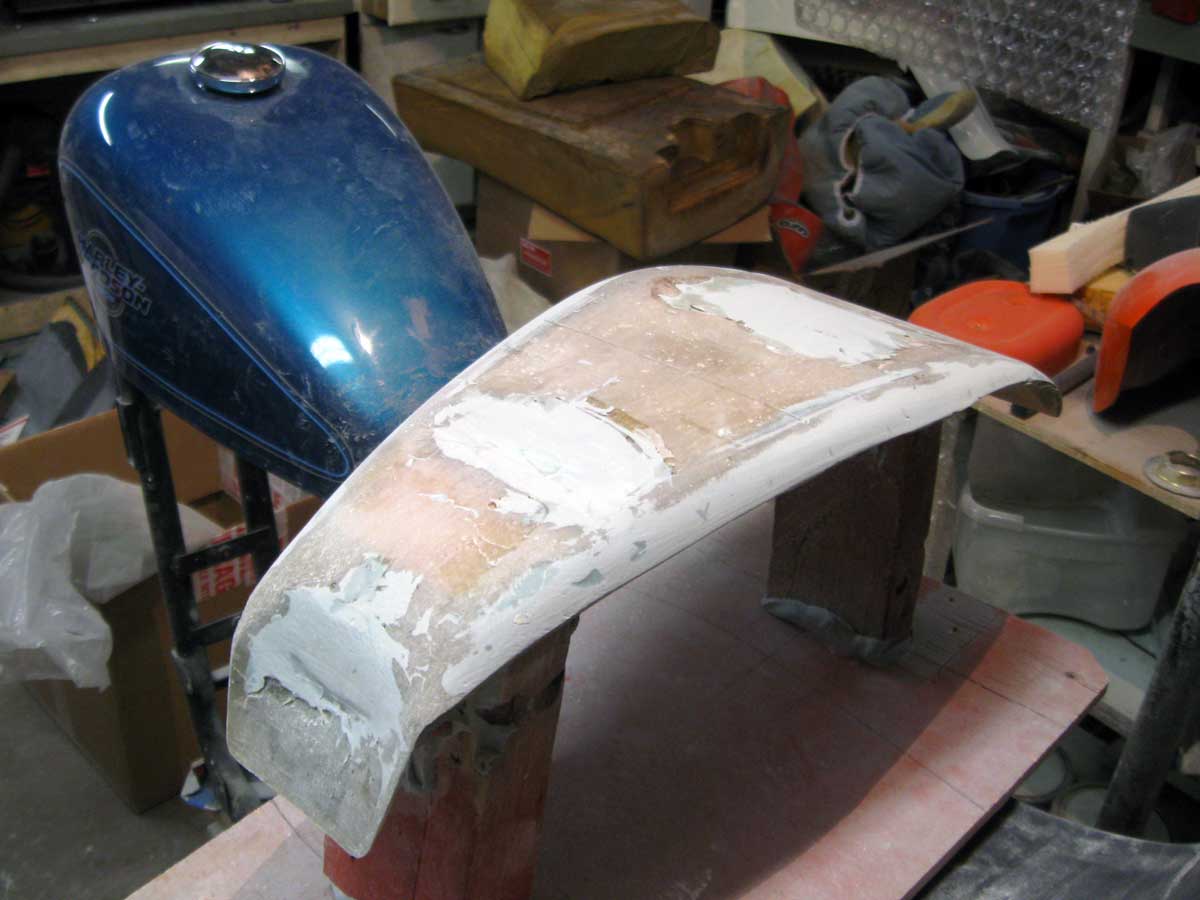 Okay here's the trimmed seat base pulled off the fender:
 Now you can see how the seat base it fits into the fender well. What is hard to see is the front which runs part way up the back of the tank:
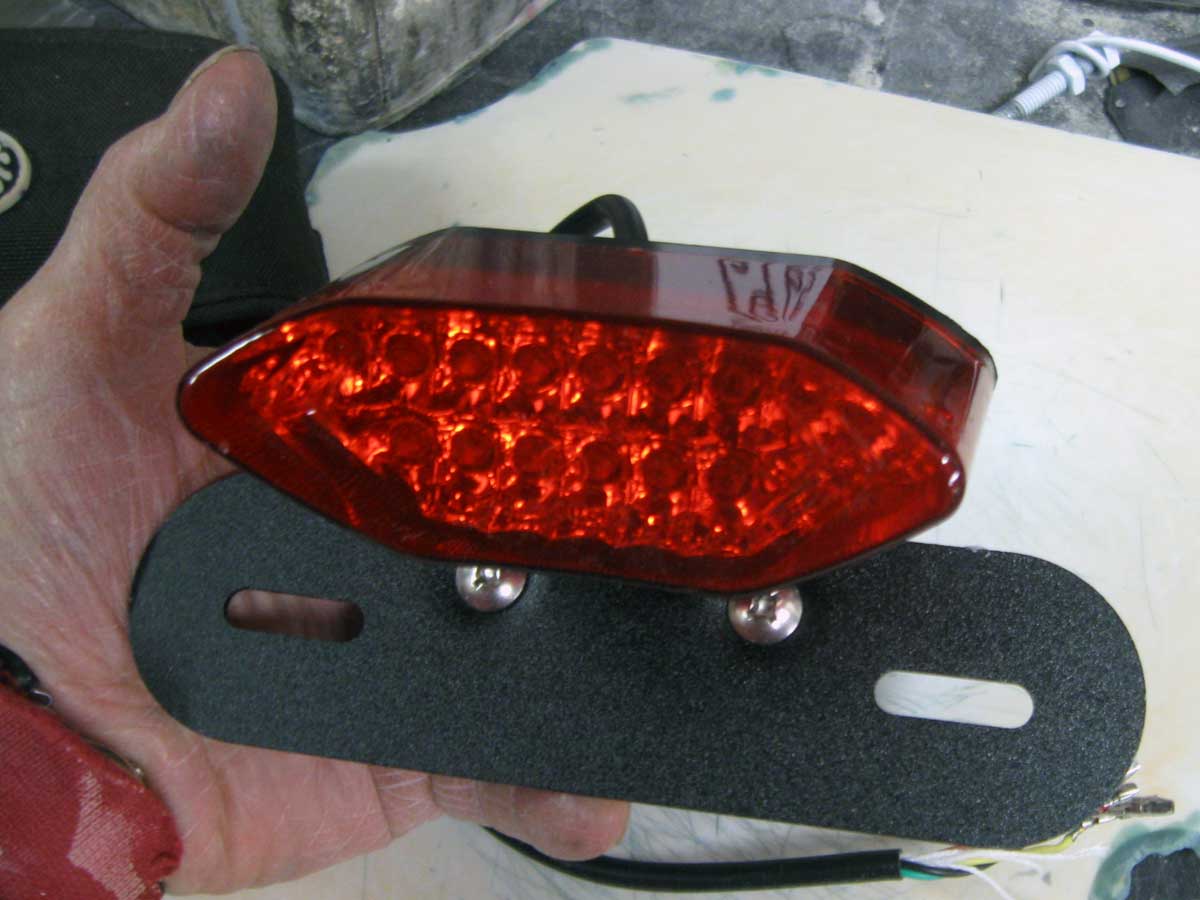 This is another photo of the running light/brake light/signals unit but in scale.
More when I have it next week.
~ Phil
Point One
At Paul Slinkard's suggestion henceforth this kit will be known as XRX instead of DXR
Point Two
Mike (jdm4gg@gmail.com) has identified a way to determine the small Sportster 2.2 gallon tank from the 3.2 gallon tank. If you measure from the rear tank mount to the back of the tank and come up with 2" that's the 2.2 tank. If this distance is 5" that's the 3.2 gallon tank. I have made the XRX tail around the 3.2 tank so I may not be able to serve those with 2.2 tanks
Point Three

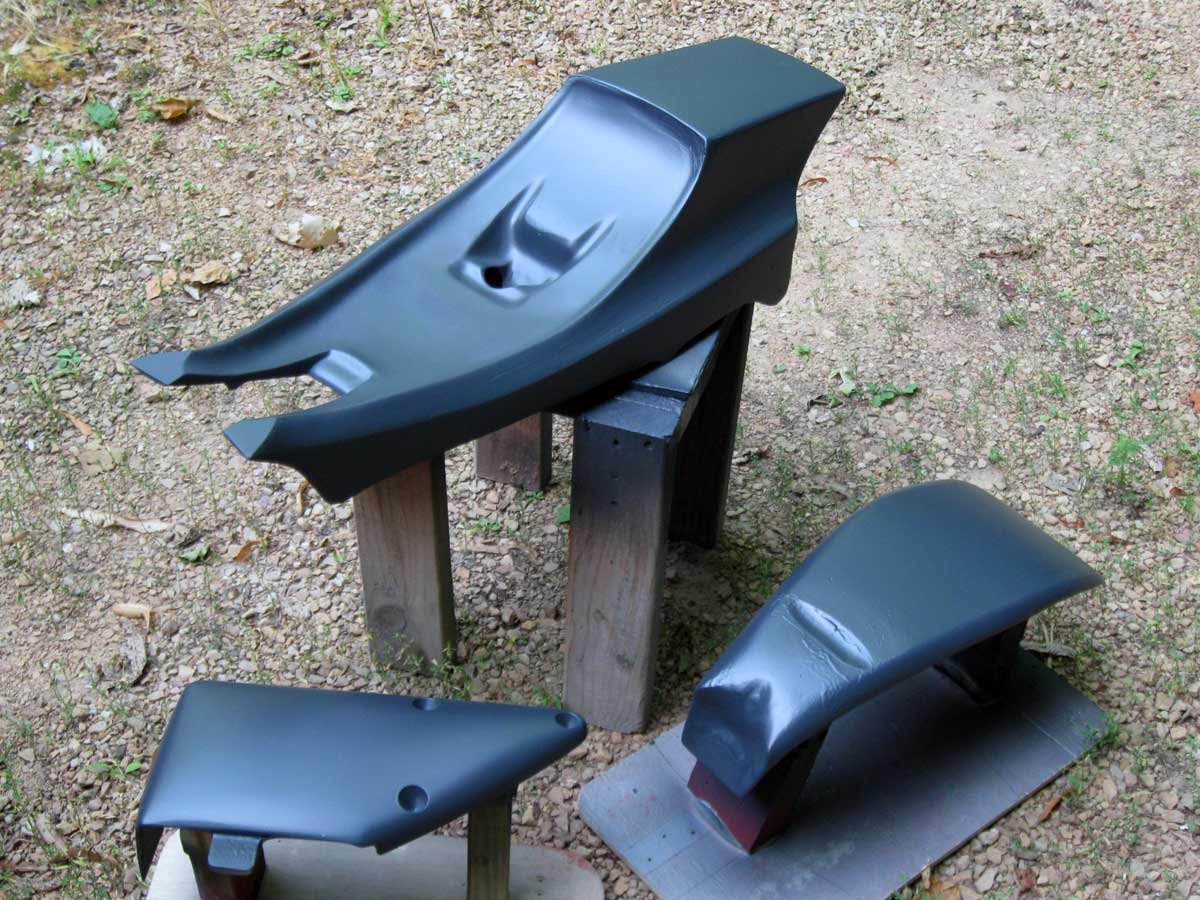 Rightly or wrongly I designed the XRX kit around the use of my new side battery cover (which is different than my existing slab-sided battery cover). If you notice the sweep from the pointy fronts down to the bottom edge on the left side you'll see it differs from the right side. The left is a more abrupt angle while the right is a longer sweep. This mean if you are not going to use a battery cover the tail will look awful because it sweeps down on the left and meets nothing.
Downhill
Okay the shaping process is virtually done. As you can see I have the final primer coat on all the parts. This stuff is what I sand to 2000 grit and polish so molds can be made. I probably have 2 weeks worth of sanding to do and the polishing/waxing process will take a week then it's off to the mold maker we go. I guess that they will take a minimum of two weeks to make the molds then we can make the first parts. After that I have to make the taillight and license plate holder out of fiberglass and have my machinist make the aluminum mounts. This process is agonizingly slow for you all I know. I will send another report in about 2 weeks.
~ Phil


