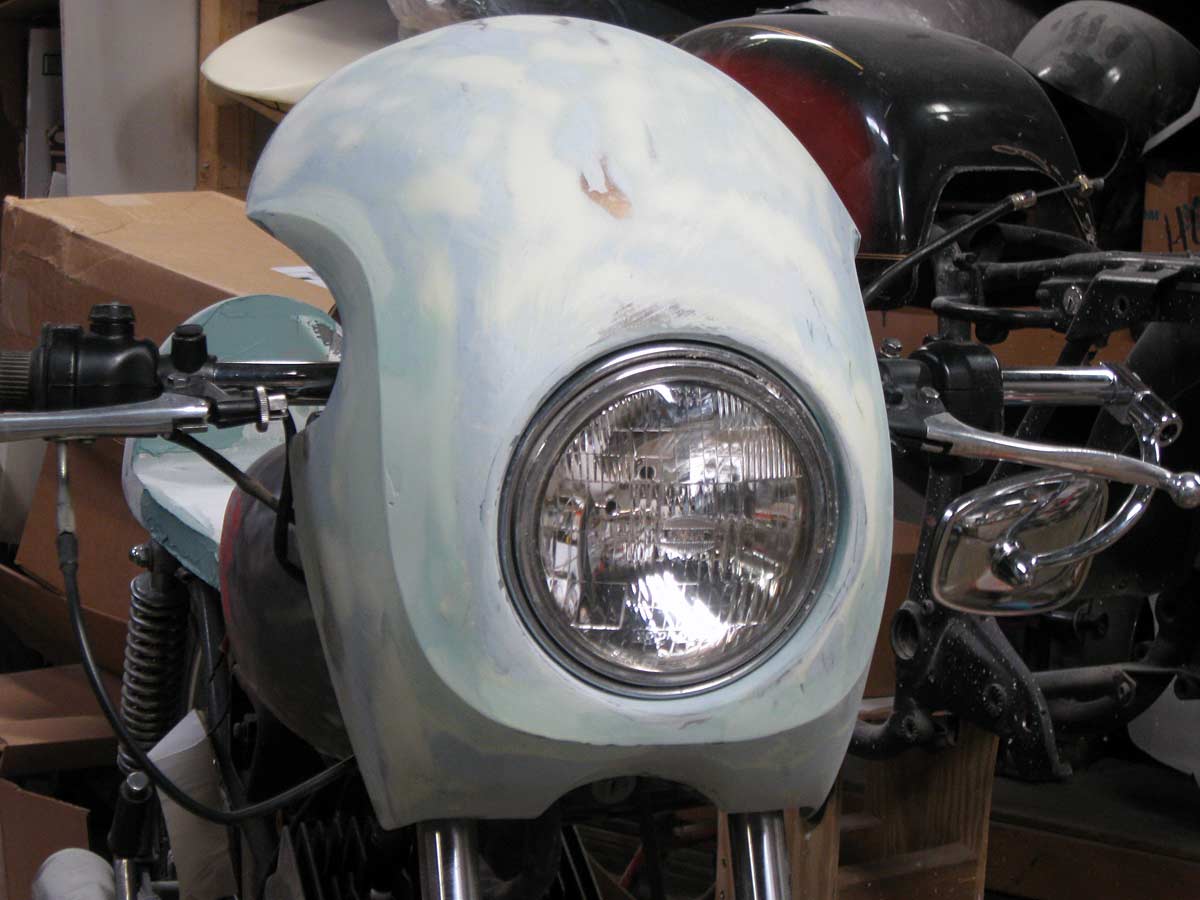
 I make no excuses for my interest in tiddler bikes, in the case a café makeover kit for RD 125s, RD200s and I'd guess the preceding LS2. These fun little air cooled bikes today are dirt cheap and little money should be invested in them unless you are going road racing in AHRMA's 200 Grand Prix Plus class (YCS1 180cc pre '69) or the Formula 125 class (RD200). In that low buck spirit I'm going to offer a shieldless café fairing (with light opening) and a café tail with seat, that's it. Everything else you see in my concept drawing is stock parts with paint. Cost? Heck I don't know, 90 bucks for fairing and $190 for the tail. That's a guess and I'll be wrong.
Now as I do with my other kits, I take names of interested folks and send them progress reports with photos. If you want to be mailed updates simply write me at litadv@aol.com and I'll stick you on the list.
My goal is to knock this out in early spring because I have other more major projects planned.
Thanks
~ Phil Little
RD125/200 Café Kit Progress report 7/29/15
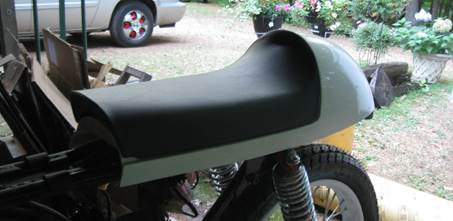
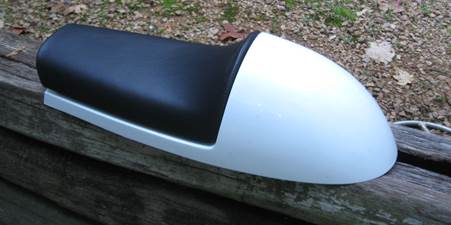 We are almost done with RD125/200 kit parts. The only thing left is an optional taillight base/taillight that mounts under the rear of the fender.
My upholster has done his superb work and the new seat cushion is a very high quality piece. Other seat makers will hand carve foam out of a foam block and to the critical eye the lack of quality shows. With my molded seat foam and exact sewing patterns each of my seats will be this side of perfect. I am now ready to accept orders from any and all who share my small bike sickness.
I looked back in my reports to see what I thought about pricing. I said then that I’d be wrong and I was.
Fairing - $125
- Custom fiberglass fairing
- Mounting hardware
Tail & Seat - $325
- Custom RD125 fiberglass tail
- Mounting hardware
- Fiberglass seat base
- Custom molded foam
- Cold crack snowmobile vinyl/sewing
- Velcro to mount seat
Taillight Option - $44
- Brake/taillight with mount under tail back
Other RD Products
- Flat café bars - $29
- Four chrome signals (8mm stalks) - $36
RD125/200 Café Kit Progress report 7/22/15
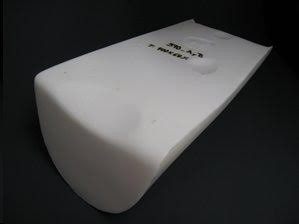
Everything takes longer than we want. Finally we have the first piece of seat foam out of the California mold maker. I’m going to rush this to my upholsterer so he can make a vinyl cover. On the right is the old seat and Bondo pattern for the foam.
We always use “cold-crack” snowmobile vinyl because it’s better, stronger and longer lasting. I’ve seen junk vinyl used before and that is not a place for a manufacturer to save money because it’s such a small part of the over all cost and quality shows here. This is the foam that’s going to Canada for Jim Kemps. Hang in there Jim, we are getting close now.
RD125 Café Body kit- Report 6/1/15
 This is the last part needed to finish the little RD café kit. It is a pattern for the seat foam. My original intension was to hand build the foam but I found it impossible to make one piece of foam that served both as the cushion part and the thin upright slab that goes against the bum stop hump. A molded foam seat cushion is better for a consistent shape and foam density anyway.
Once I get the molded foam cushions back from California I’ll be able to accurately price the kit pieces and begin shipping. Jim Kemps up in Ontario is beside himself with anticipation waiting for his kit-he’s my first customer. Hang in there Jim and you others-it won’t be long now
~ Phil
RD125 Café Body kit- Report 9/2/14
Other projects out of the way and the RD now rests on the work stand.
Good news.
 Found chamber specs from a 70s moped that will be close enough for street work on little RDs. We can thank John Metz from "Some Guy Enterprises" for finding this obscure pipe info. As soon as my engine is in the frame I'll order a set made and begin the fitting process. My goals are simple.
- More street performance.
- Unpeaky power.
- Minimum noise--to this end I will use an inverted stinger and as long as possible silencer.
- Keep the price cheap as possible--we will use your stock header pipes. I'm sure we will expose the limitations of the fixed main jet stock carbs but together we will find the answer for a bolt-on system.
More later.
~ Phil
RD125 Café Body kit Report 12/11/13
 Okay here's the first peek at the actual finished fairing and tail. I haven't had time to show them on the bike yet--too busy with snowmobile parts. I should get back to the little café project in a month.
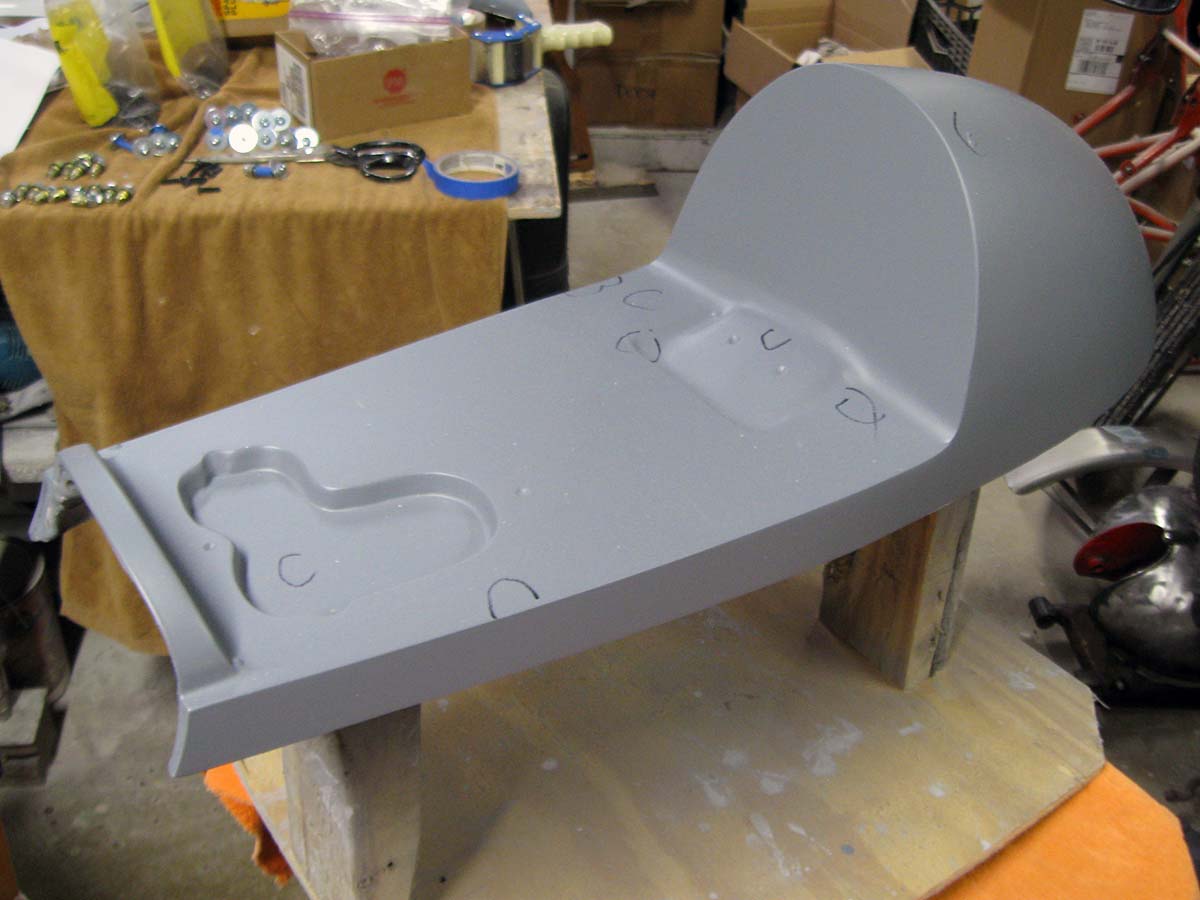
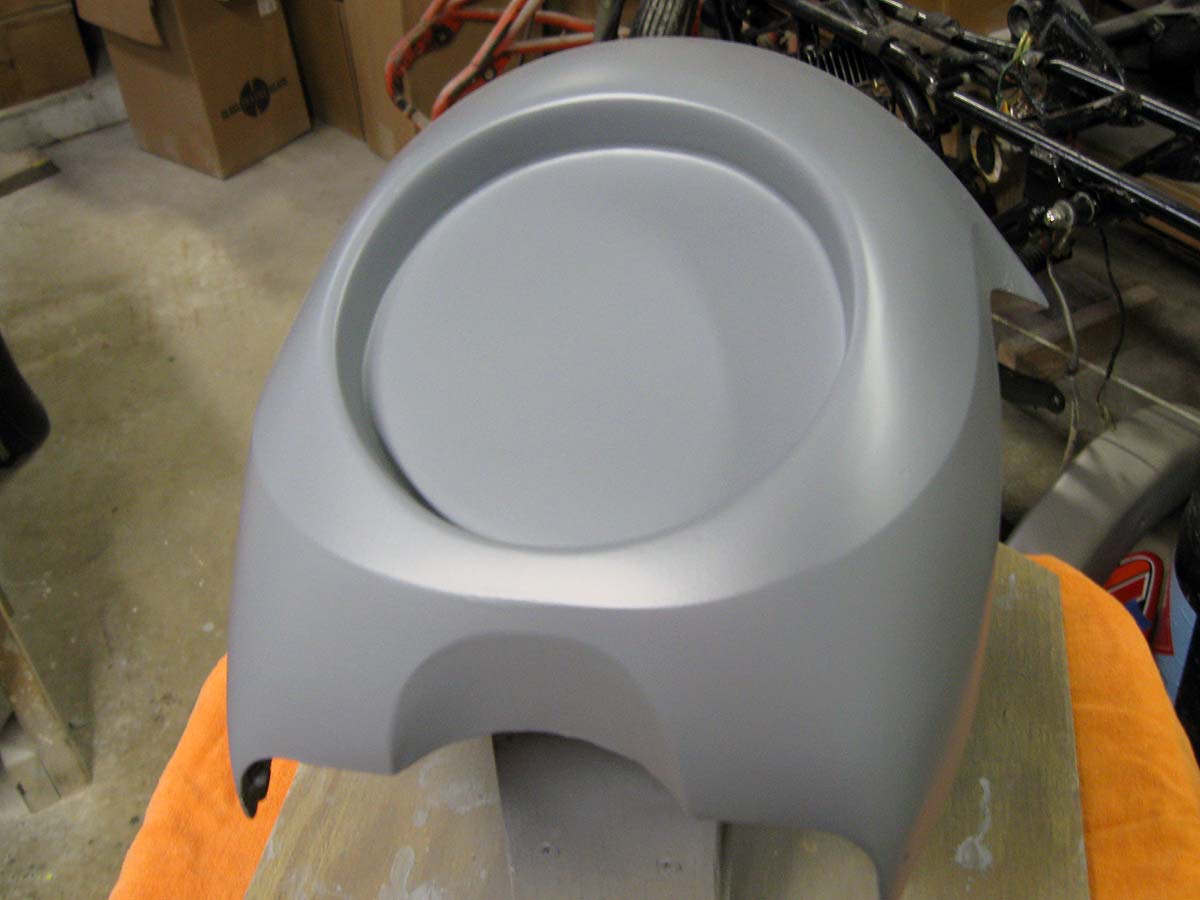
If you look closely at the fairing you'll see that mold line (paint line) leaving the handle bar cutout as it moves down under the light opening. The cutout in the tail is clearance for coils and other bits which protrude above the seat rails.
That thin vertical hump at the front of the tail is the rear tank "hold-down" pocket. Both parts, although dedicated to little RDs, should fit other small bikes. I will provide inside measurements the next time I write so you can consider these parts for small Hondas etc.
~ Phil
RD125 Body kit Report 11/26/13
Fairing and tail molds are complete. First parts from each are made. Work slowed by snowmobile part production. New design for showcase bike-going to do Yamaha factory racer graphics theme. Will report next when parts are on rolling frame.
RD125 Body kit Report 8/22/13
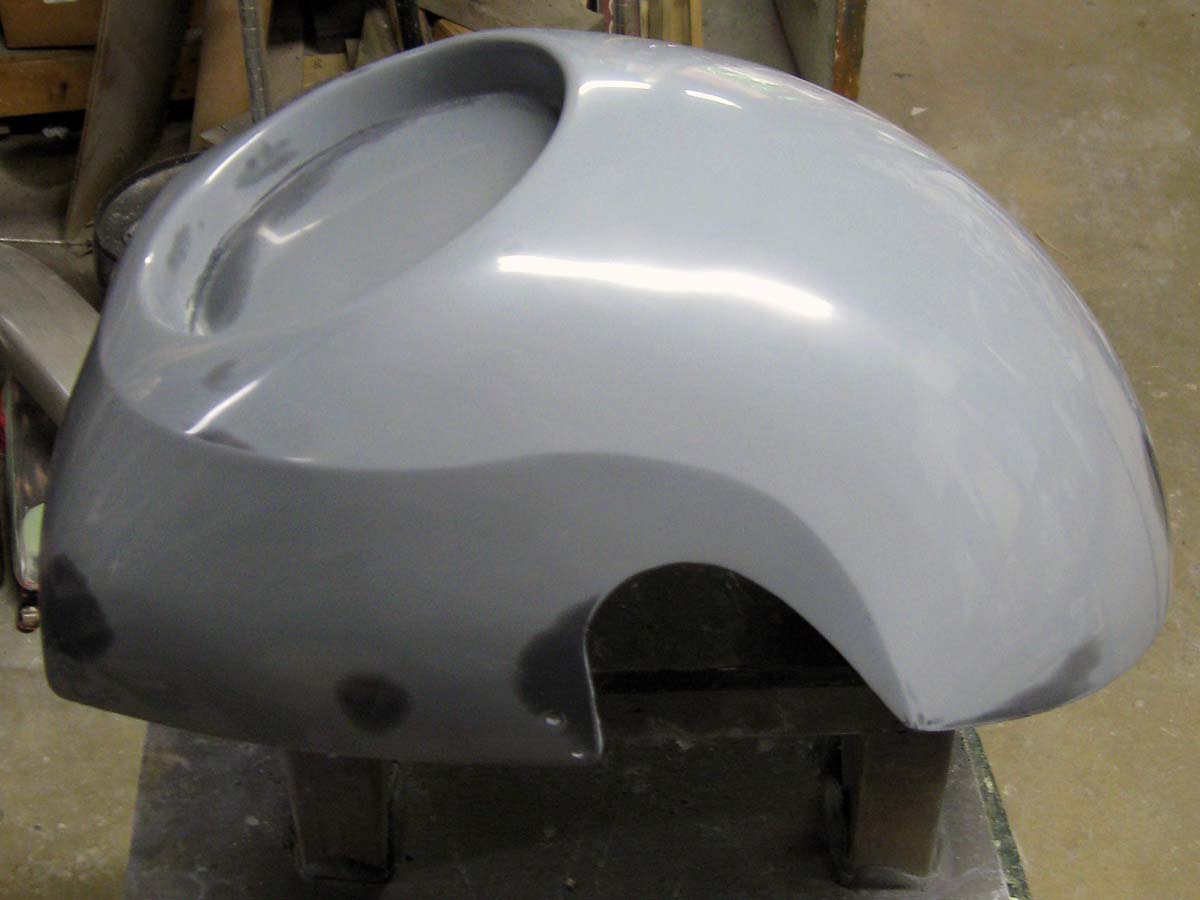 I guess I missed my Spring goal for kit completion. Ah well. Parts are done, waxed and have left for the mold maker. The next thing we'll see is the finished parts. I'll report again then.
~ Phil
RD125 Body kit Report 7/15/13
Now you can see fairing and tail in their final form. The gray stuff you see on the parts is Duratech. It is a two part spray-on finish that is hard enough to sand and polish to a mirror finish. That surface is what the mold is made from. The next time you see this part it will be all shiny and off for mold-making it will go.
~ Phil
RD125 Café kit Report 6/26/13
The fairing is almost done. In another hour of work it will be. Now you can see the 'S' shaped style line I've included to give what would be a common fairing some uniqueness. This is also a paint dividing line for dual color paint schemes.
The fairing will be held in position by the turn signals and the side reflectors so mounting will take no time at all. Even thought this fairing is being made for RD125/200/LS2 it will fit other small bikes with a headlight/bezel no wider than 6 1/4"
All for now.
~ Phil Little
RD125 Café kit Report 6/18/13
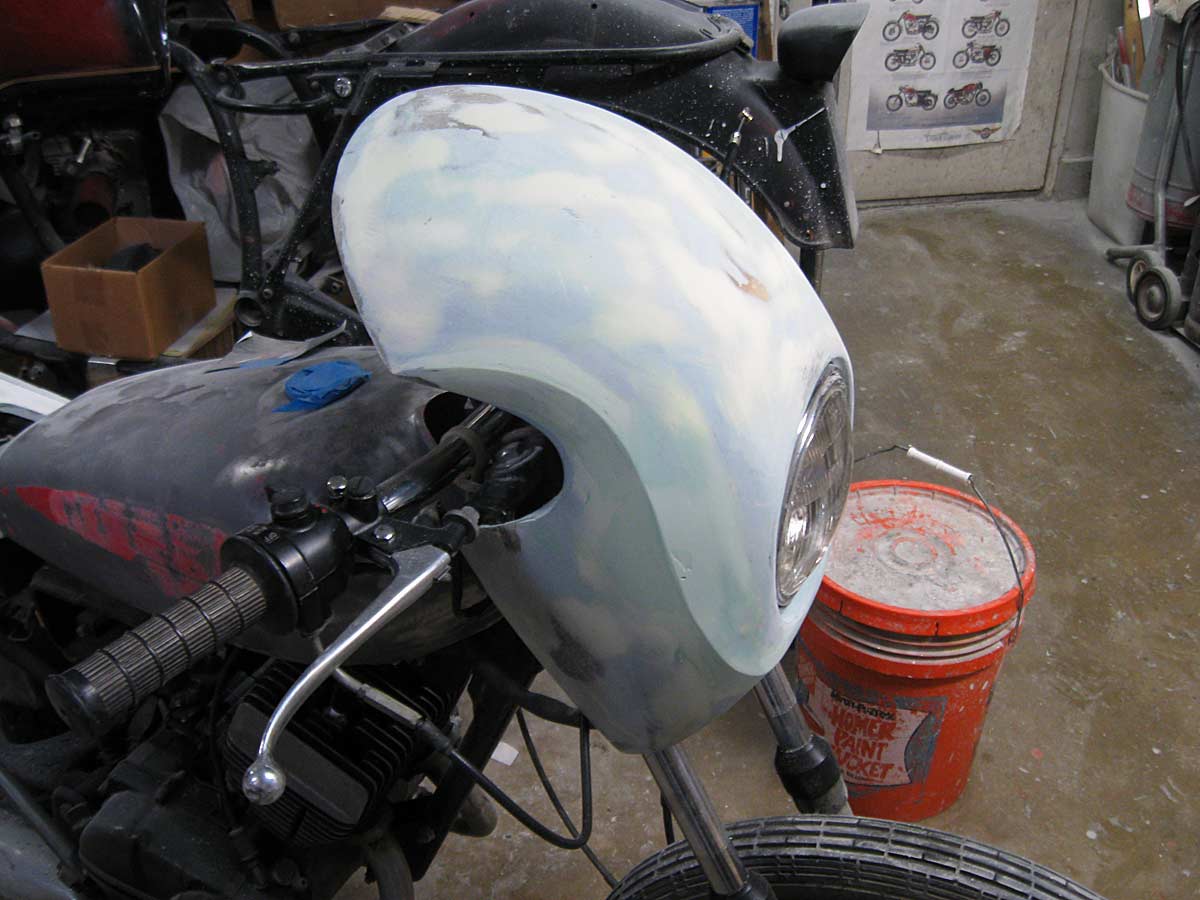
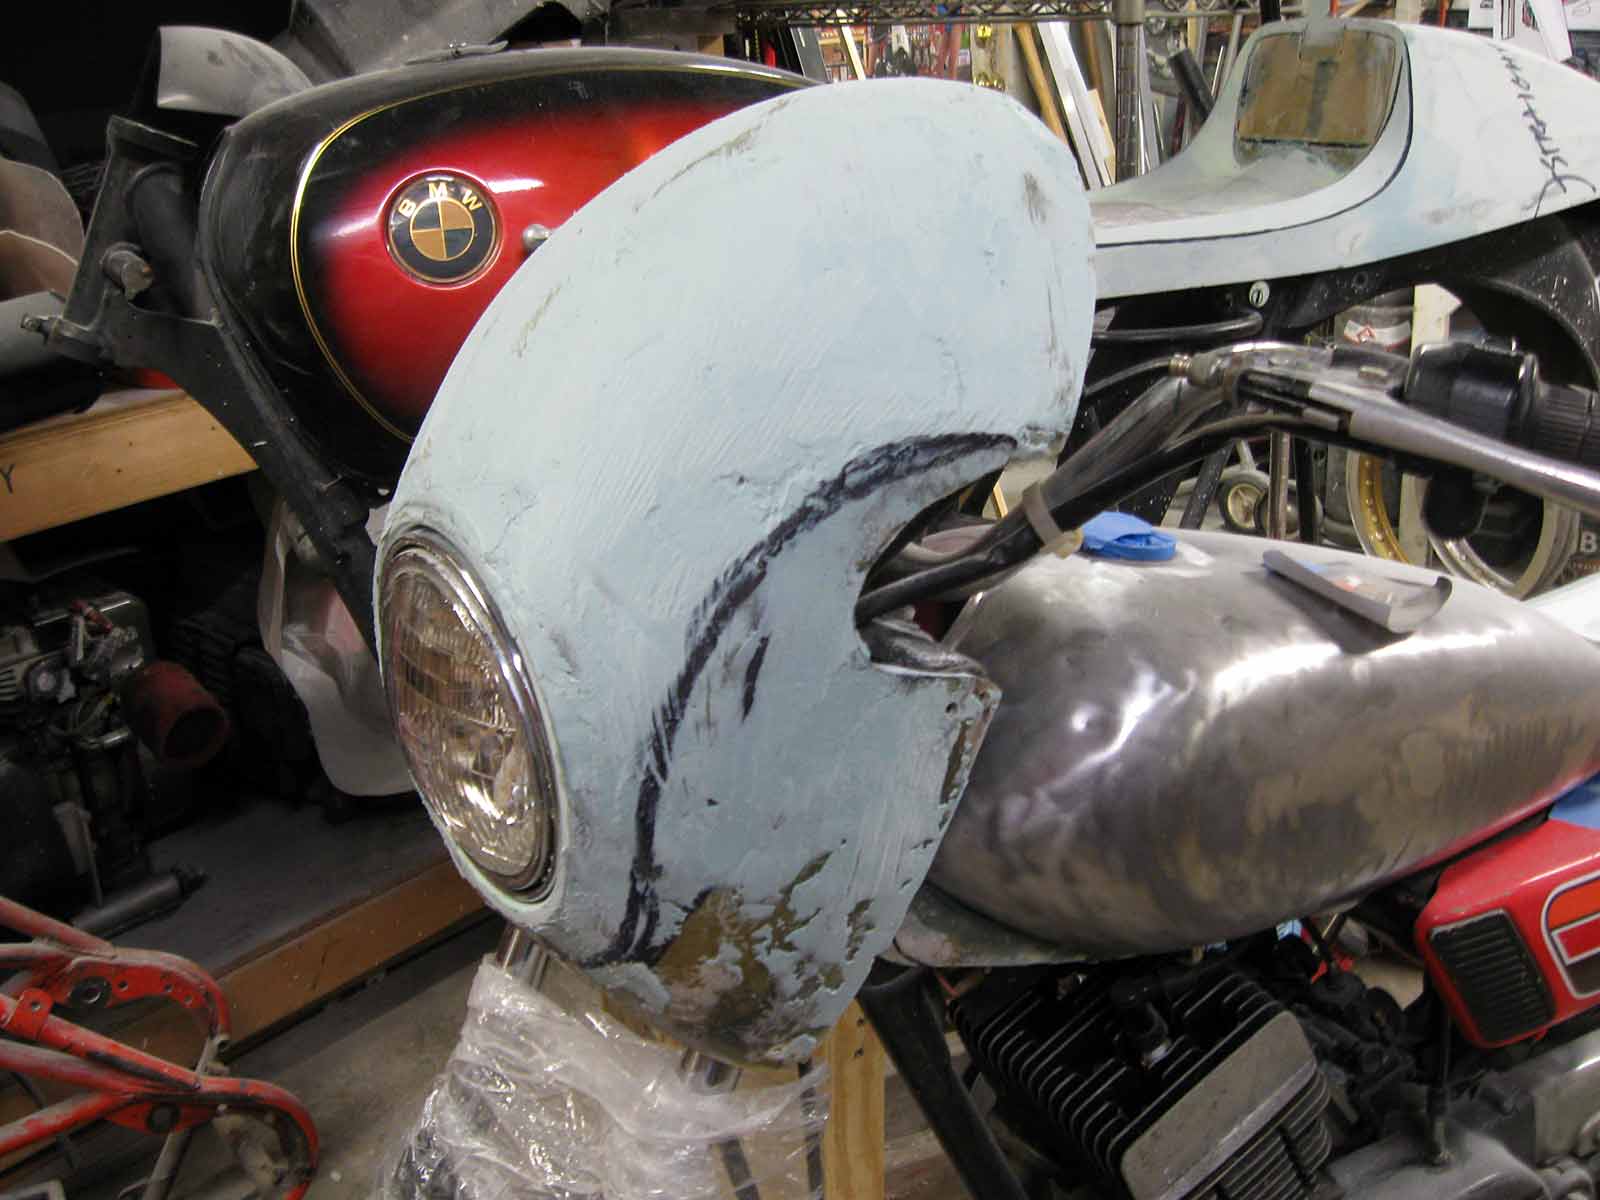 Well the fairing now looks more like a fairing. Forgive me but I am attempting to give this fairing a bit of design flair. The top portion is a bit wider than the lower portion and I'm going to put a slight mold line where you see my black marks. This is going to be a paint dividing line for those who want do a two tone paint job.
 To see what I mean, see the fairing on my Honda 450 café. If you have any recommendations or suggestions-write me at phil@phillittleracing.com
Thanks.
~ Phil
RD125 Café kit build report 5/28/13
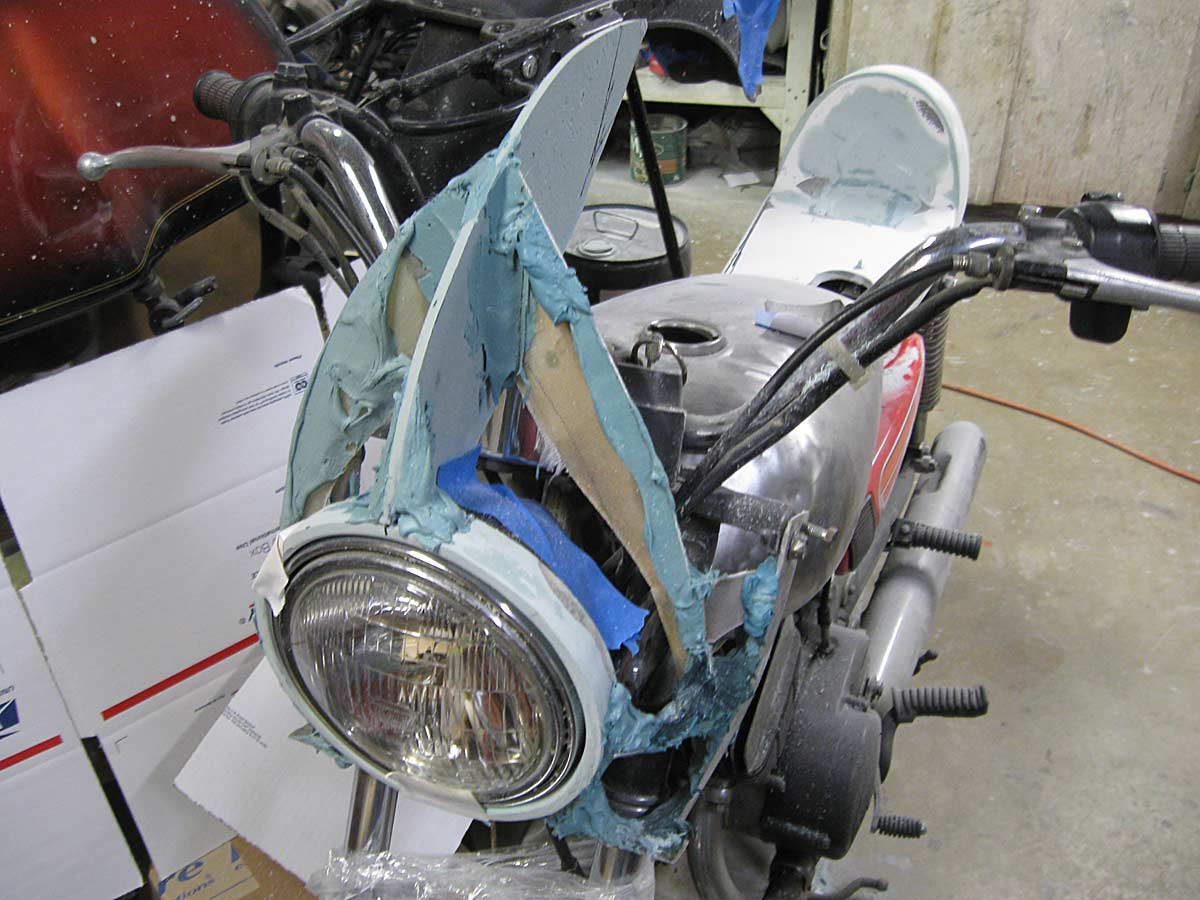
That spidery mess around the headlight is the fairing skeleton. The next time you see it, I'll put flesh on the bones so you can see how it's gonna look.
If you would like to have my future progress reports sent directly to your email just write me at phil@phillittleracing.com. Thanks.
~ Phil
RD125 Café Report 5/1/13
Tailpiece
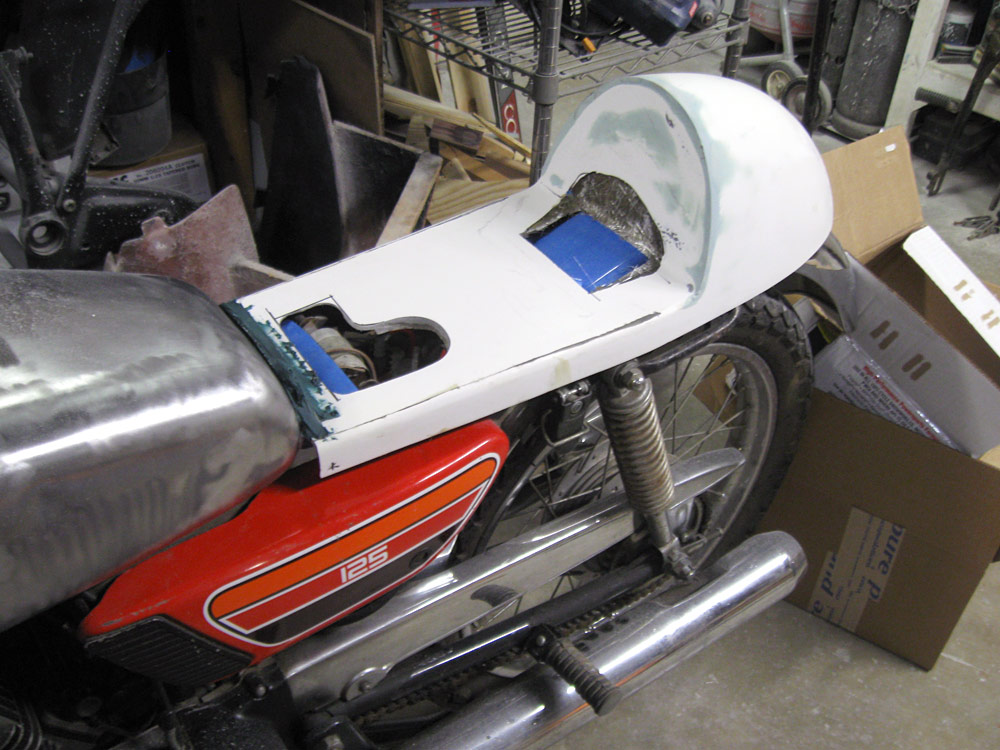 Work begins. As stated my café kit will work around the stock tank to keep the kit costs low. Here you see initial work on the tail. I've cut up an existing café tail because that's always easier when making a new pattern for a mold. The tail will mount with four bolts and has to be secure to hold the back of the tank down.
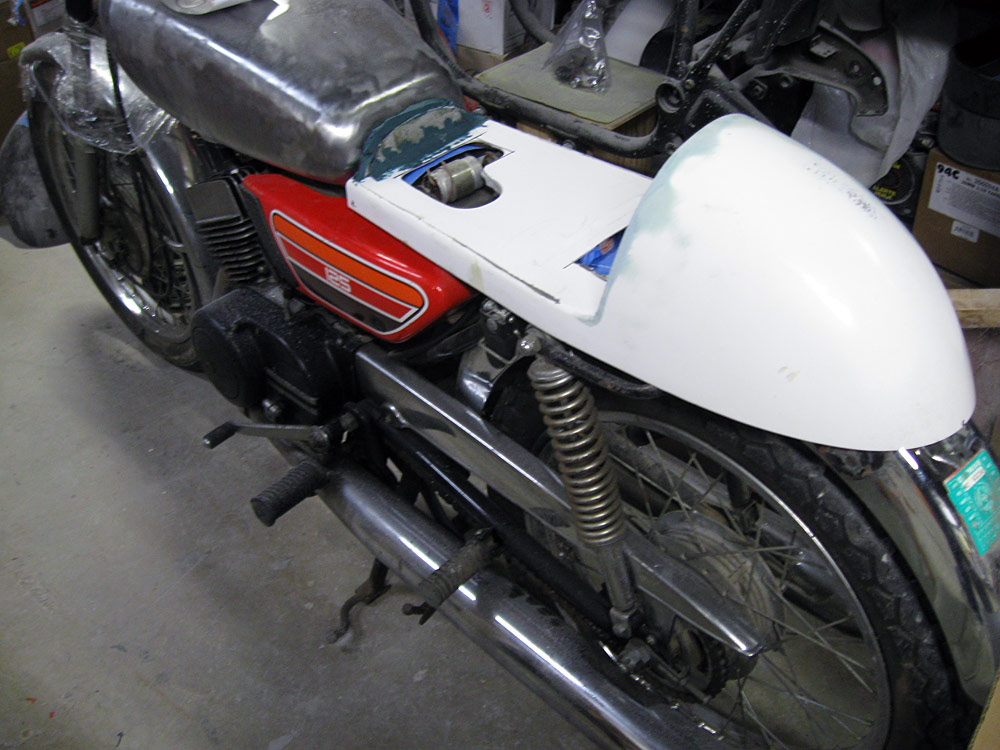 That L' shaped hole in front is access to oil tank and relief for the coil. The hole in back will be filled to follow the shortened fender for two of the tail mounting bolts. (I am going to cut off the rear of the fender so the balance will act as a mud guard-you may wish to do the same but hold off because we may want to keep a fender portion for taillight mounting). I am thinking about making a storage compartment in the tail hump but that will probably be an option.
Fairing
 My goal here is to make a fairing for RD125, RD200 and LS2s which mounts to existing holes in the steering head area. It will not have a windshield for two reasons; one, its too low to need one and two, to keep the cost to a minimum. A fairing has to start some where. Here you see the start of the hole around the headlight. Much of a fairing's support comes from fairing and headlight contact.
That's it for now. If you would like to have my future progress reports sent directly to your email just write me at phil@phillittleracing.com. Thanks
~ Phil

