What follows are periodic reports as the RXL kit was being made. Many of my plans, prices and features changed as the kit came together. Ignore all pricing in the following unless in matches with the information on the RXL page.
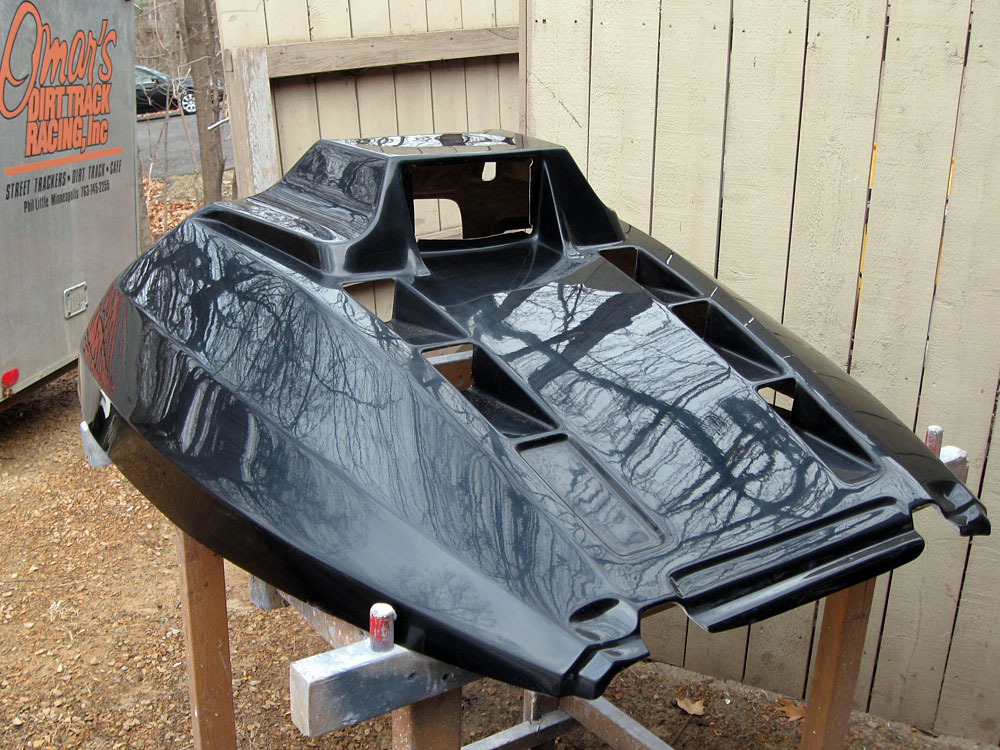
 It now begins. What you see is my custom Velocity hood which I made for early Indys in 1992. You can see what that hood looks like here.
The Velocity hood will be the basis of the RXL--its overall shape is right. I am not going to mold in air scoops. I polled all the folks on my 'list' and they said "no scoops". Most will use LC sleds. I will have a jig to cut in air scoops for us F/C owners.
 One of the biggest challenges will be to minimize the hood hinges. I have to use the Gen I style hinges which mount to the backside of the forward bulkhead. The Gen II hinges mount outside of the bulkhead and will get in the way of nose mounting.
With my advisors, the Sayen family of ardent Polaris fans, it has been determined that the smaller Polaris gauges (3" ?) will fit on the dash. The next photos you will see will be the cutting part where the headlight pod will disappear.
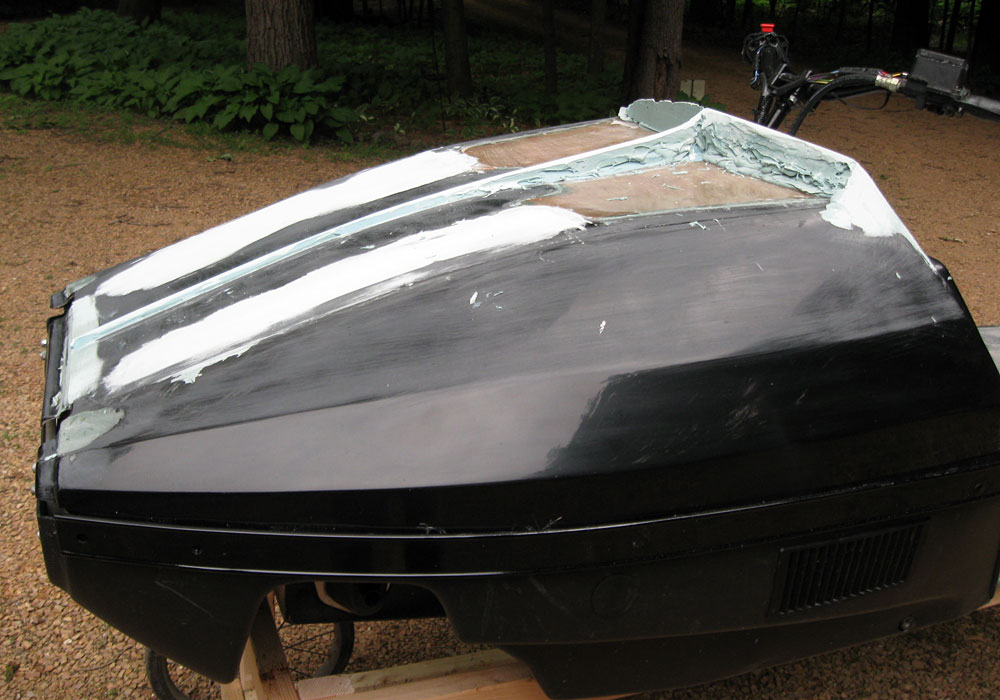
 Okay, you can see that surgery has begun. I knocked off the headlight pod. I sent a questionnaire to all you who have asked to be on my "list" for progress news. I asked "should I make the hood with scoops?" The answer you sent back was a resounding "NO", no scoops. Note: work will stop for a period on the RXL. It won't be ready until spring so it's going to be a 2012/13 release. I'm going to jump over to my 650 Yamaha Storm motorcycle kit and finish it for a Spring into. Then I'll get back to the RXL.
Progress (the result of one day's work). Work has resumed on hood as of June oneth.
- The hood scopes are gone as per your vote in my last pole
- The center line has been established as a guide for the new deck profile, (see the new center line in photo). This raised center line helps establish what will be the inverted V shaped crest on the hood deck-you'll see that develop next week
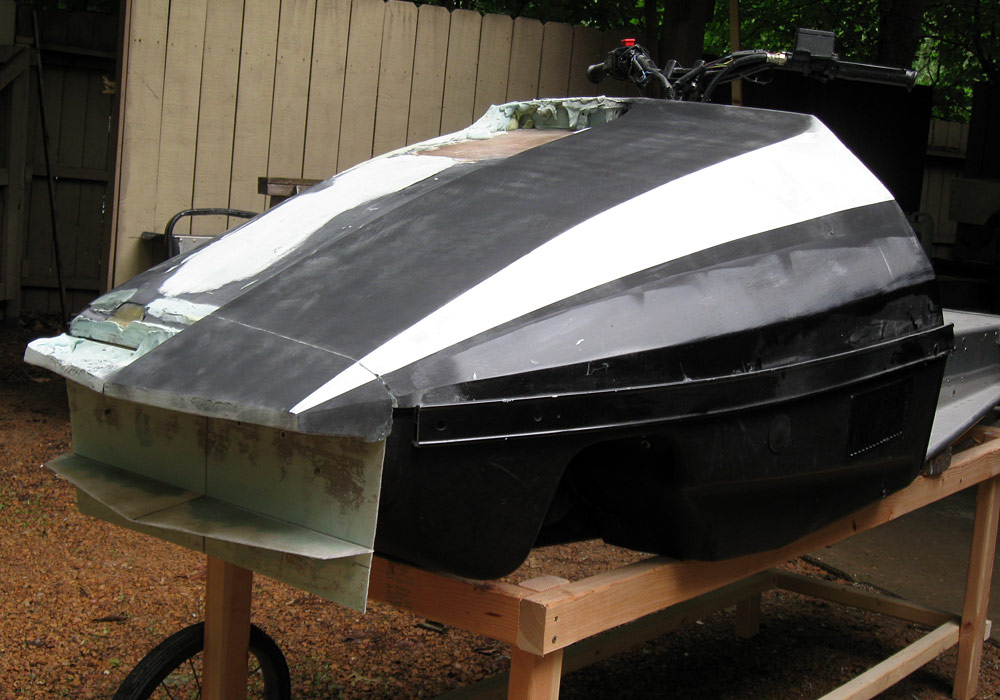
- The rear flip is beginning. I'm making the rear flip in the V shape of the 1978 RXLs
- I will now be working weekly on the hood and will send a zillion reports to you
Work progresses. Now you can see the nose forming and how it will blend with altered hood shape (changed since 6/11/12 report). I will now be spending my time on the nose to get it finished. This will allow a standard for conforming hood lines. If you look closely you can see the hood/nose joint line. I am hoping for a flush fit or no more than a 1/16" gap.
More when I have more.
Hey board members you came thru in the last poll. I stopped counting at 11. The vote was 11 to 0 in favor of a seamless hood and nose. You guys are great-and it's kinda of fun to design a product with help from my potential future customers. I guess that's rather rare in any business.
After the work this week I have discovered good news/bad news. I won't be able to make a one piece hood and nose. Yes I could make it but it couldn't work, here's why. The nose is going to wrap under the side bumper about 10 inches back from the front edge of the bumper. If the nose were part of the hood it couldn't fit the sled because I am using the side bumper channel to anchor the hood. The hood drops down into the channel and the nose butts to the under side of the bumper-it can't work.
So here's my current thinking. I will make a separate hood and nose. I am going to eliminate the hinge. That way I can butt the hood to the back side of the nose. If I'm good, the joint between the two will only be 1/16". That will get us a seamless look in a practical way.
Ski-doo Mike and I have been talking about a headlight location. He said take it off the handle bars and put it in the nose. With a separate nose bolted to the front end, I will have the strength to support a light. This will be my goal.
One of the draw backs of a take off hood are instrument cables and wiring. They tether the hood to the sled and make working in the engine compartment more difficult. This is solvable two ways. The light in the grill eliminates the wiring issue. I'm reasonably sure I can come up with a small metal dashboard for gauges and idiot lights so they won't need to be attached to the hood. The dashboard would mount under the handle bar mount block, lower than the hood and over the tank.
 Progress
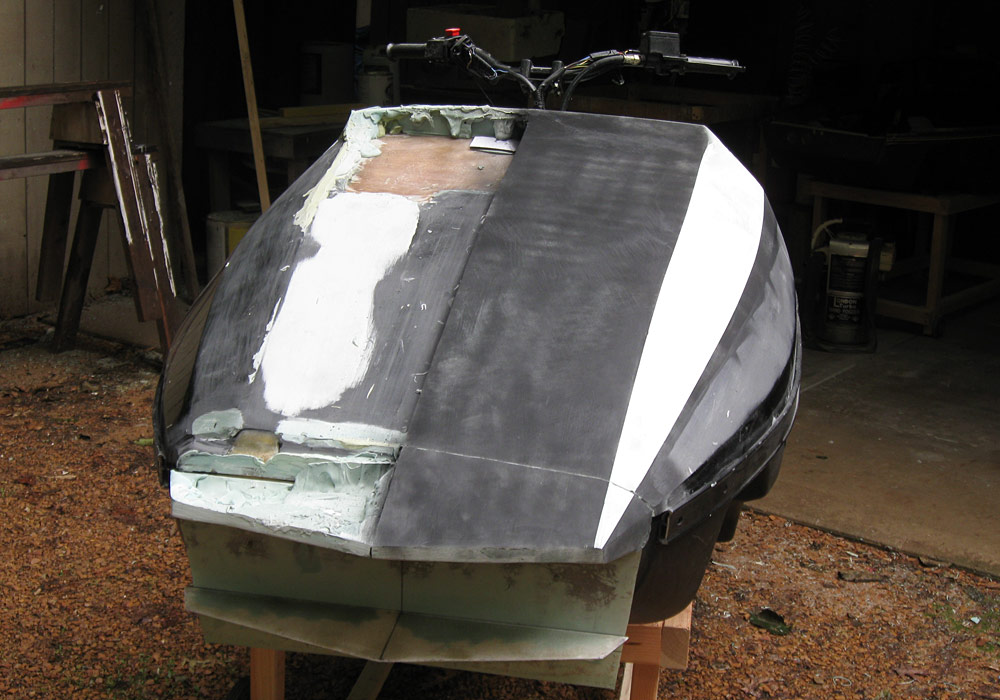
This week I filled in the left deck side and raised a side mold line so there's room for RXL side decals. I have also started roughing in the nose.


